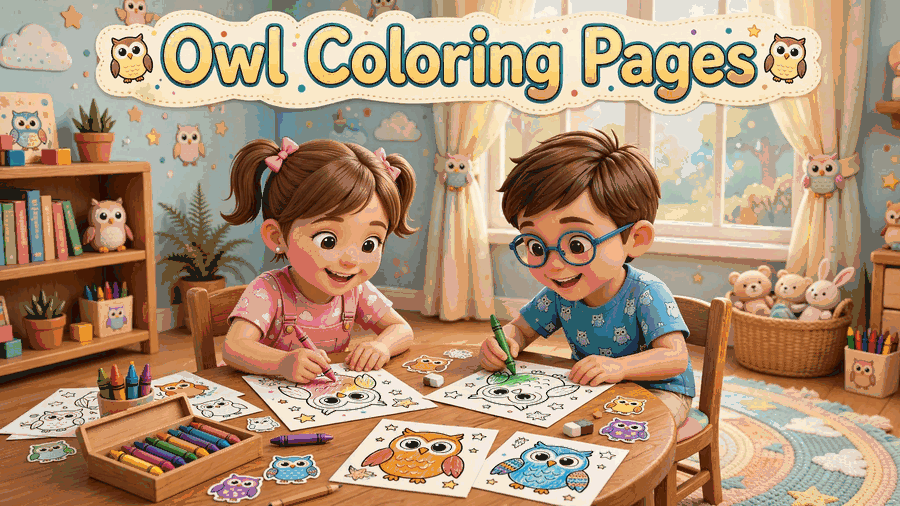
Owl Coloring Pages invite children to explore these fascinating birds through creative art, distinctive feathers, and imaginative forest scenes. This printable activity offers families and teachers a simple way to combine coloring with nature-inspired discovery.
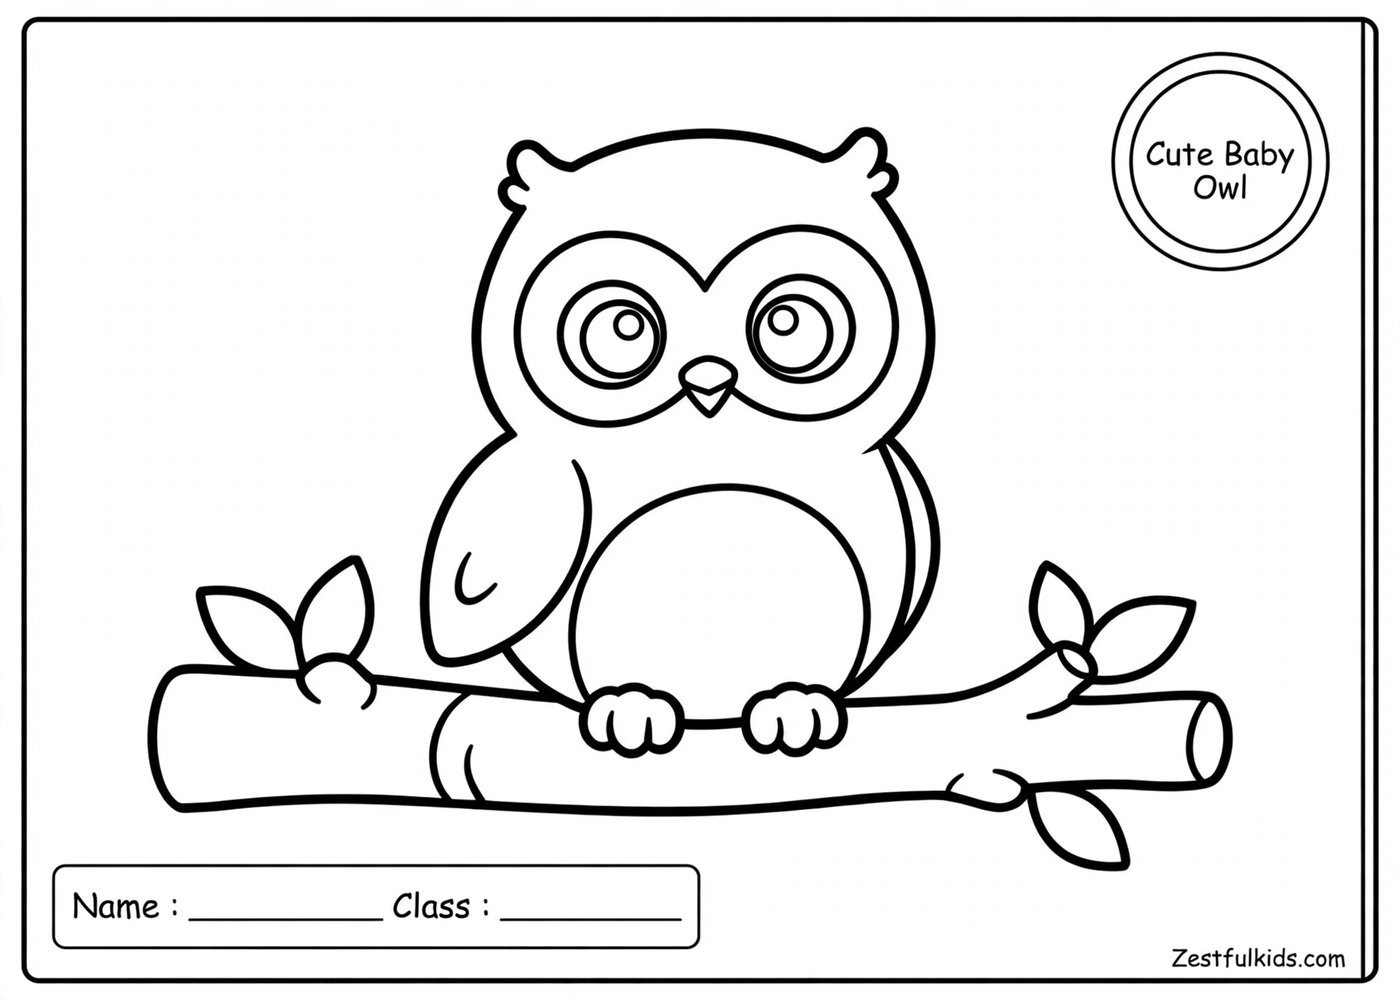
Discover What Makes Owls So Interesting to Color
Owls have several distinctive features that make them enjoyable subjects for children’s artwork. Their large, forward-facing eyes, rounded facial discs, short hooked beaks, and feathered bodies give them recognizable shapes that are fun to fill with color. Some owls have prominent ear tufts, while others have smooth, rounded heads. These differences create opportunities for children to explore how one type of bird can have many different appearances.
With Owl Coloring Pages, children can experiment with realistic colors or invent their own imaginative designs. Brown, gray, cream, and white are useful starting points for a natural-looking owl, while purple, turquoise, orange, and pink can transform the bird into a playful storybook character. There is no need to follow a single color scheme. The goal is to enjoy the illustration and make each finished picture personal.
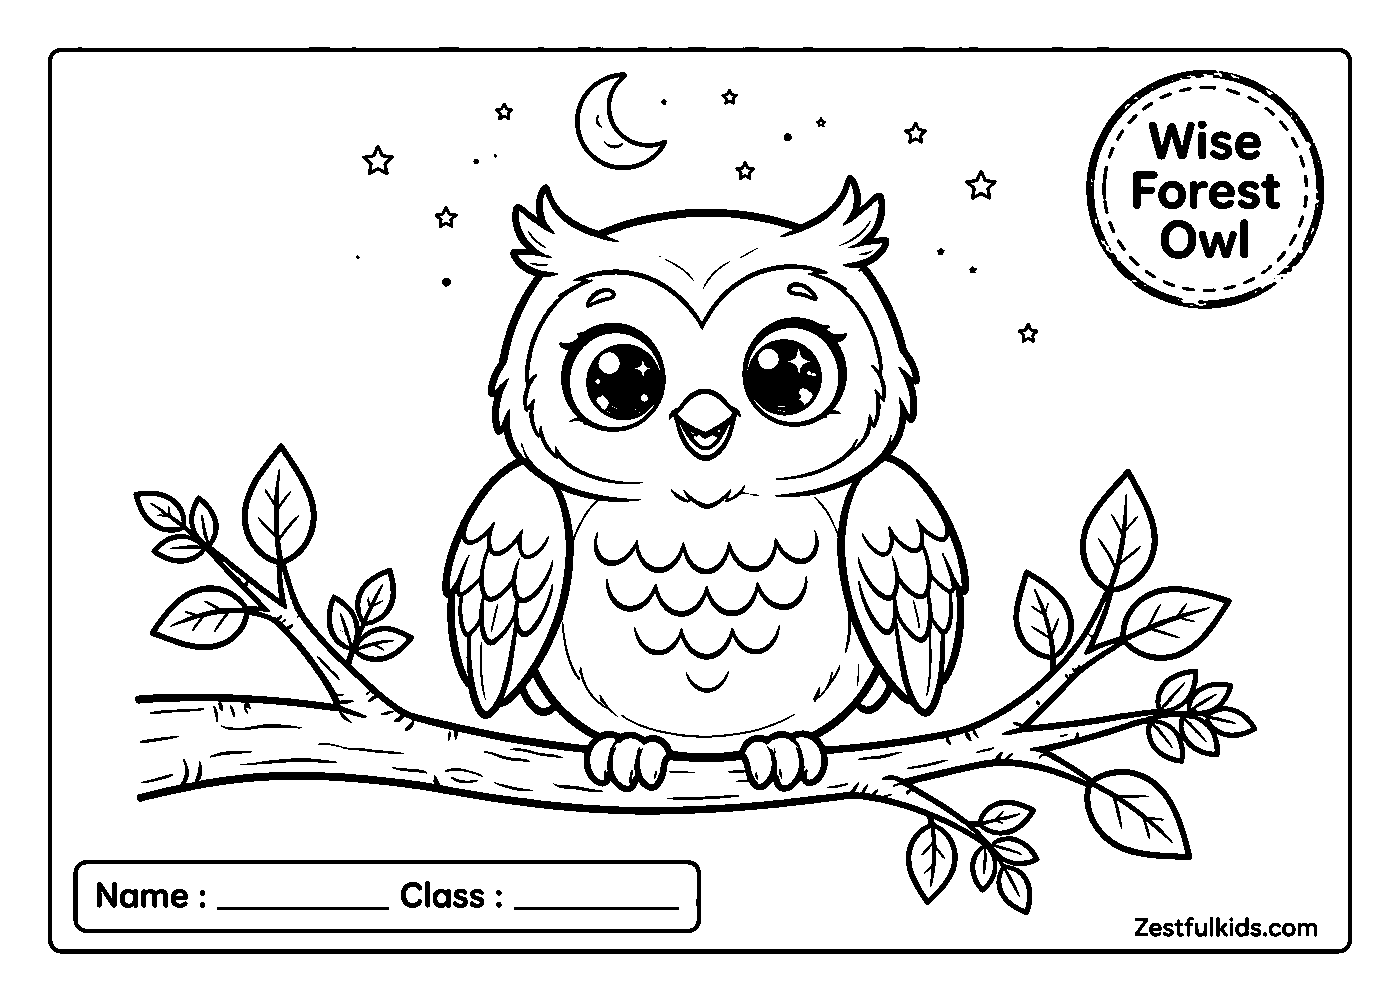
Owls are also associated with nighttime, quiet forests, and moonlit branches. These familiar settings can inspire children to imagine where their owl might live and what it might do after sunset. Even a simple owl illustration can become the starting point for a short story about a bird watching over the forest or searching for a safe place to rest.
Choosing an Owl Design That Suits Your Activity
Different owl illustrations can support different kinds of coloring sessions. Before printing, parents and teachers can consider the amount of detail, the child’s interests, and how much time is available for the activity.
Simple Shapes for a Relaxed Coloring Session
Illustrations with large body shapes, clear outlines, and fewer small details can be convenient for children who prefer a straightforward coloring task. Broad areas around the wings, chest, and face provide plenty of room to practice staying within the lines. Crayons and washable markers are practical options for filling these larger spaces.
Children can begin with the owl’s main body color before adding contrasting shades to its face and wings. If the illustration includes visible feather patterns, they can alternate two similar colors to create a layered appearance. Keeping the first few choices simple helps the activity remain enjoyable without making the picture feel complicated.
Detailed Feathers for Young Artists Who Enjoy Patterns
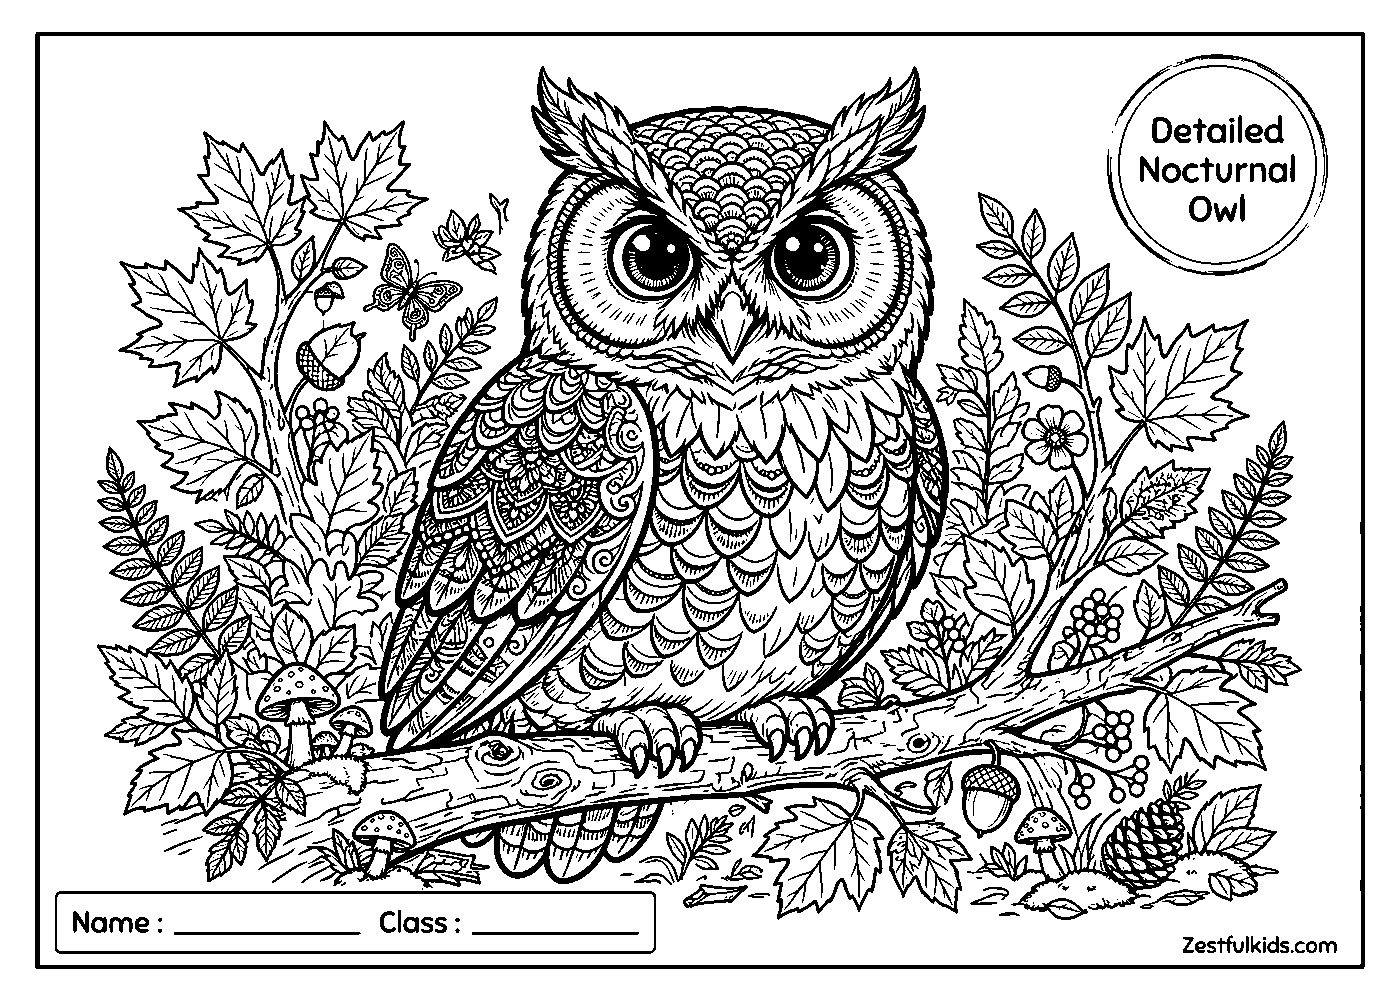
Some children enjoy illustrations that offer more opportunities for careful coloring. An owl with detailed feathers, decorative markings, or a leafy setting can encourage them to plan how different areas will look together. Colored pencils work well for small sections because they allow gradual shading and precise marks.
One useful approach is to choose a small palette of three or four colors before beginning. For example, a child might use dark brown for the wings, warm tan for the body, cream for the chest, and yellow for the eyes. Repeating these colors across different sections can help the picture look coordinated without requiring advanced techniques.
Creative Ways to Color an Owl
A good coloring activity does not have to end when every outlined section has been filled. Children can explore color combinations, add optional background details, and make small artistic decisions that give the finished page its own character.
Try Realistic Woodland Colors
For a natural-looking owl, start by considering the bird’s feathers and the environment where it might live. Brown, beige, gray, and muted white can represent many familiar owl appearances, although actual colors vary between species. A few darker strokes along the wings can suggest feather markings, while a lighter chest creates contrast against the body.
If the illustration includes a branch, green leaves and shades of brown can help establish a woodland setting. A pale blue or soft gray background can suggest the evening sky. These choices are suggestions rather than rules, so children can adjust them to suit the picture.
Create a Fantasy Owl
For a more imaginative result, invite children to design an owl that could appear in a fairy tale. Blue and violet feathers might suit a magical night bird, while bright orange eyes and multicolored wings can give the character a cheerful appearance. Small stars, glowing circles, or a crescent moon can be added around the illustration if there is enough blank space.
Children can also give their owl a name and decide whether it is shy, adventurous, sleepy, or curious. This simple storytelling idea works particularly well at home or during a classroom art session. The finished page can become part of a handmade storybook or a collection of animal drawings.
Turn the Coloring Page Into a Nature Activity
Owl coloring can introduce a few interesting facts about birds without turning a creative session into a formal lesson. Parents and teachers can explain that many owl species are active at night, although some are active during the day or at dawn and dusk. Many owls have excellent hearing and specialized feathers that help them fly quietly. Their hunting habits and preferred habitats differ depending on the species.
After coloring, children can look closely at the illustration and identify the eyes, beak, wings, and feet. An adult can explain which features help an owl find food or move through its environment. If the page shows a perched owl, children can discuss why a branch might be a useful resting place. These conversations should follow the details actually shown in the picture rather than assuming every design contains the same features.
For another animal-themed activity, families can explore the gentle springtime scene in the Easter Bunny and Lamb printable. Comparing the animals gives children a chance to notice differences between feathers, fur, ears, wings, and body shapes. They can also experiment with different palettes for woodland animals and farm animals.
Make Printing and Coloring More Enjoyable
Before printing Owl Coloring Pages, check the available file and review its print preview. Confirm that the illustration fits within the printable area and that important outlines are not cut off near the edges. Choose paper that works with the coloring tools available, particularly if children plan to use markers or apply several layers of colored pencil.
For a comfortable coloring session, place the page on a flat surface and provide a small selection of crayons, pencils, or washable markers. Children do not need every color in the box to create an appealing picture. A limited selection can make it easier to focus on the owl’s main features and decide which areas should stand out.
Younger children may appreciate a little help choosing colors or identifying the different parts of the bird. Older children can work more independently, experiment with shading, or add their own background details. Allowing each child to choose a preferred approach makes the activity flexible for different interests and levels of coloring experience.
Extend the Fun With Other Printable Themes
Once the owl is finished, children may enjoy switching to a different subject while keeping the same creative routine. A change in theme can introduce new shapes, textures, and color combinations without requiring a completely different set of materials. Families can organize completed pages into folders or display selected pictures on a wall or classroom board.
Children who enjoy discovering unusual animals may also like the Dinosaur Has 500 Teeth activity. Its prehistoric subject offers a different visual challenge from an owl’s feathers and rounded face. Comparing the two pictures can inspire conversations about how animals differ in appearance, habitat, and the ways they obtain food.
Owl Coloring Pages provide a flexible starting point for art, imaginative storytelling, and simple nature discussions. Whether children choose earthy woodland shades or invent a brightly colored fantasy bird, the activity gives them room to make their own creative decisions. With a suitable printable, a few coloring tools, and time to explore, an ordinary picture can become a small project worth sharing.

