Baby Bunny Coloring Pages bring little rabbits to life through creative coloring activities, helping children explore soft fur, long ears, tiny paws, and charming bunny scenes with their favorite colors.
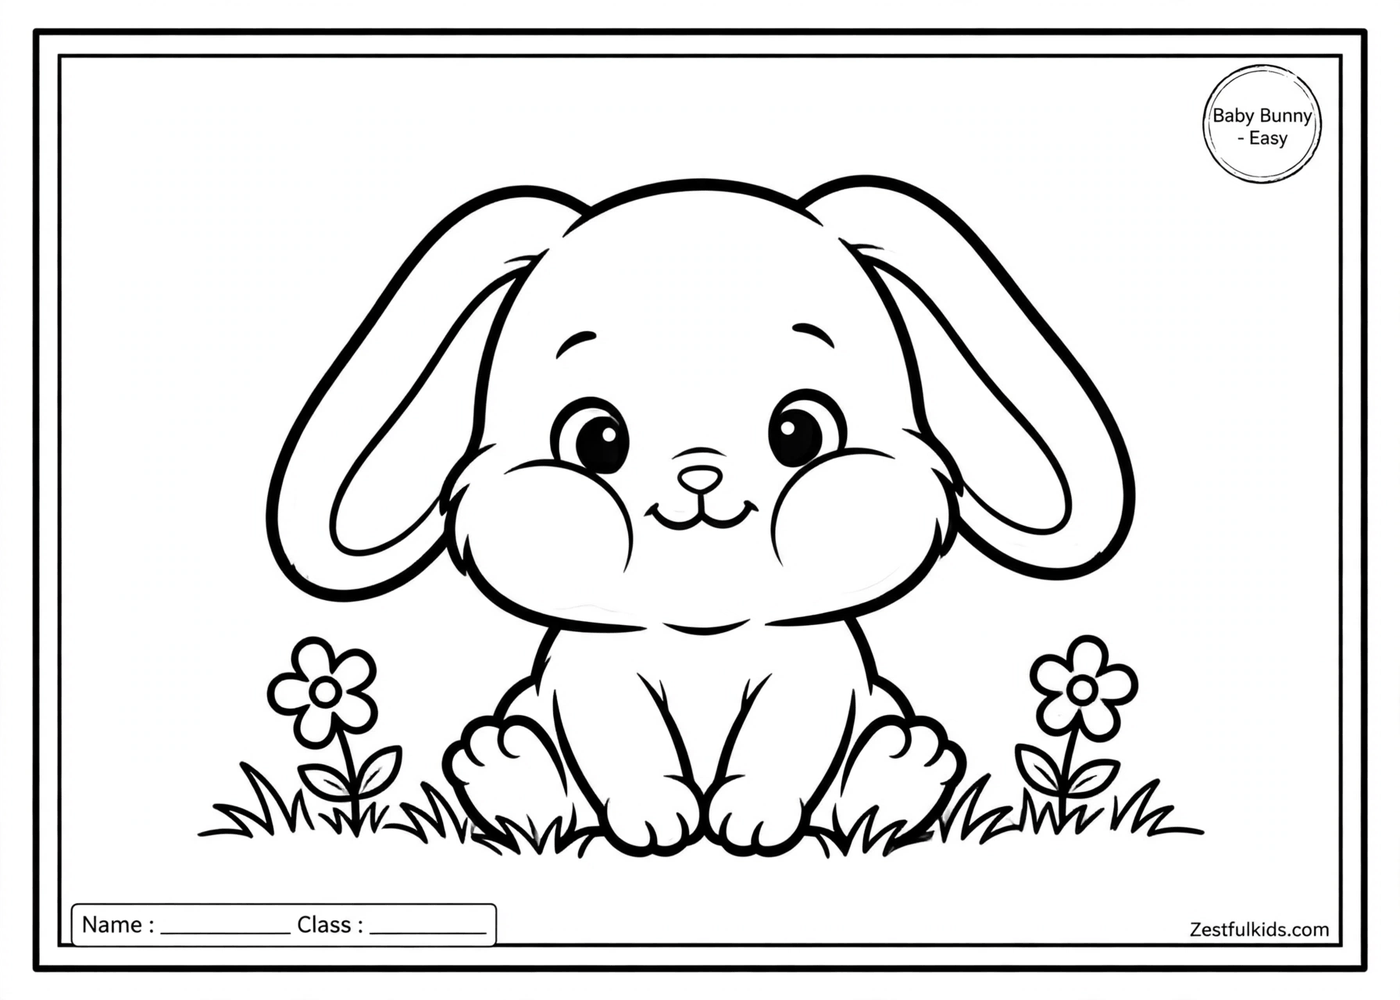
Discover the Charm of Baby Bunny Coloring Pages
Baby bunnies have distinctive features that make them appealing subjects for children’s coloring activities. Their long ears, rounded cheeks, small noses, and fluffy bodies offer plenty of details for young artists to explore. Some children may picture a rabbit sitting quietly in the grass, while others imagine a playful bunny hopping through a garden. These familiar animal features provide a starting point for creative choices without requiring children to follow a fixed color scheme.
Baby Bunny Coloring Pages can fit naturally into a quiet afternoon at home, an animal-themed classroom activity, or a creative session shared with family members. Children can experiment with traditional rabbit colors, such as white, gray, brown, and cream, or invent a colorful character of their own. A pink bunny with purple ears or a golden rabbit with blue paws can become part of an imaginative story. The main purpose is to enjoy the process of coloring while giving each illustration a personal touch.
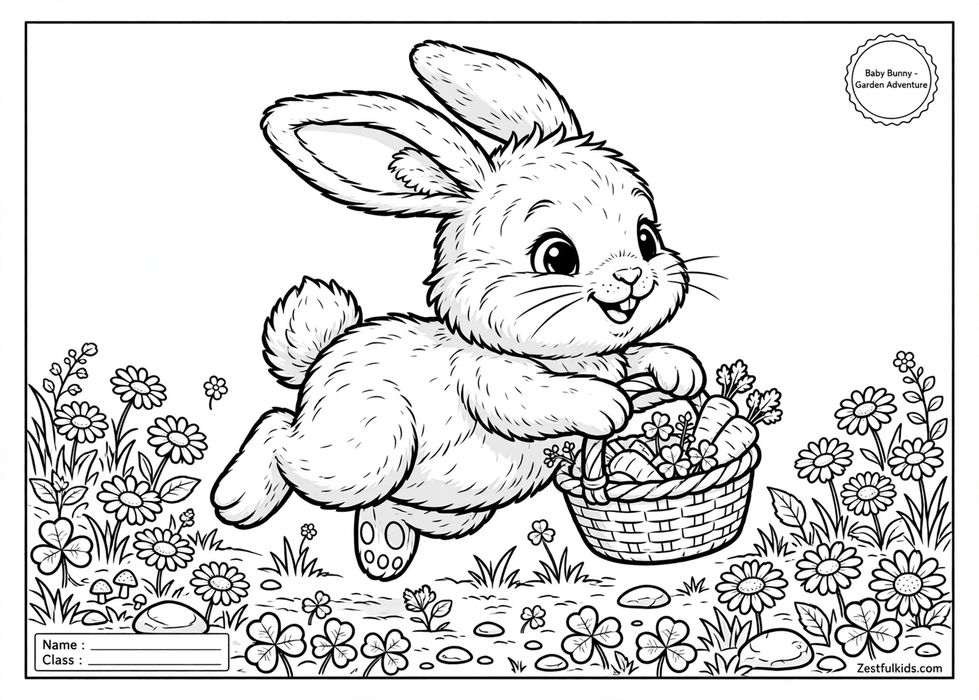
Choosing Colors for Little Rabbits
Rabbit fur offers several possibilities for simple yet interesting coloring combinations. White and light gray work well for a soft-looking bunny, while brown and beige can create the appearance of a familiar countryside rabbit. Children who prefer brighter colors can use peach, pale yellow, or light blue to create a playful fantasy animal. These options make the activity flexible for different artistic preferences.
The smaller details also deserve attention. A bunny’s inner ears can be colored pink, while its nose and paw pads may receive a slightly darker shade. Eyes can remain uncolored if the illustration has small outlined spaces that are difficult to fill, or children can use a dark pencil to complete them carefully. For a more finished appearance, they can add gentle shading around the cheeks, belly, or feet.
Background colors can help establish the setting without overwhelming the main character. Light green suggests a grassy meadow, while pale blue can represent the sky on a sunny day. A few yellow flowers, leafy plants, or small stones can turn an otherwise simple scene into a garden illustration. Children can also leave the background white if they prefer to concentrate on the rabbit itself.
Turn a Bunny Picture into a Little Story
Coloring becomes more engaging when children imagine what the rabbit might be doing. A seated bunny could be waiting for a friend, listening to birds, or watching a butterfly move between flowers. A rabbit with raised ears might be reacting to a sound, while one curled into a ball could be preparing for a nap. These ideas encourage children to make their own creative decisions instead of simply copying a finished example.
Parents and teachers can extend the activity with a short storytelling prompt. After coloring the rabbit, invite the child to give it a name and describe its favorite place to play. The bunny might live beside a vegetable patch, hide among tall grass, or visit a garden filled with daisies. Children can draw a small extra detail beside the original illustration if they want to expand the scene.
For another animal-themed activity, children can explore a lion cub playing in a lively scene. Comparing the two animals creates an opportunity to talk about their different appearances, habitats, and everyday behaviors. A rabbit’s long ears and compact body look quite different from a lion cub’s rounded ears and developing mane, giving children more details to notice as they color.
Simple Techniques for a Neat, Expressive Finish
The choice of coloring tools can influence how the finished picture looks. Crayons are useful for broad areas such as a rabbit’s body, while colored pencils allow children to work more carefully around the ears, nose, and paws. Washable markers can produce stronger colors, especially when a child wants the bunny to stand out against a lightly colored background. The best option depends on the child’s comfort, the paper, and the amount of detail in the illustration.
Encourage children to begin with the larger areas before moving to the smaller features. Coloring the body first can make it easier to decide which shades to use for the face, ears, and feet. They can then add small details gradually, taking care around narrow outlines. Younger children may prefer broad strokes and simple color choices, while older children may enjoy combining shades to suggest fur or create patterned designs.
It is also helpful to choose paper and coloring tools that work well together. Before printing, check the available print preview to ensure the illustration fits the page and its important details are not cut off. If the design contains delicate lines, avoid pressing too hard with pencils or markers that may bleed through thin paper. Placing a spare sheet underneath the coloring page can help protect the surface of a table.
Bring a Garden Setting into the Activity
A baby bunny and a garden make a natural creative pairing. Children can imagine the rabbit exploring clover, resting beside a flower, or peeking out from behind a leafy plant. If the illustration already includes a background, they can choose colors that distinguish the rabbit from its surroundings. If the picture has a plain background, they can add a few simple elements around the animal when space allows.
Flowers offer an especially useful way to introduce contrasting colors. A yellow flower beside a brown bunny creates a different effect from a purple flower beside a white rabbit. Children can experiment with these combinations and decide which ones they enjoy most. They do not need to make every flower the same color; varied petals can make an imaginary garden feel more lively.
For a related floral activity, the daisy flower crown designs offer another way to explore petals, leaves, and simple nature-inspired patterns. Children can use similar flower colors in their bunny scenes to create a coordinated theme. This can be particularly enjoyable during a classroom art session or a family activity focused on springtime and garden animals.
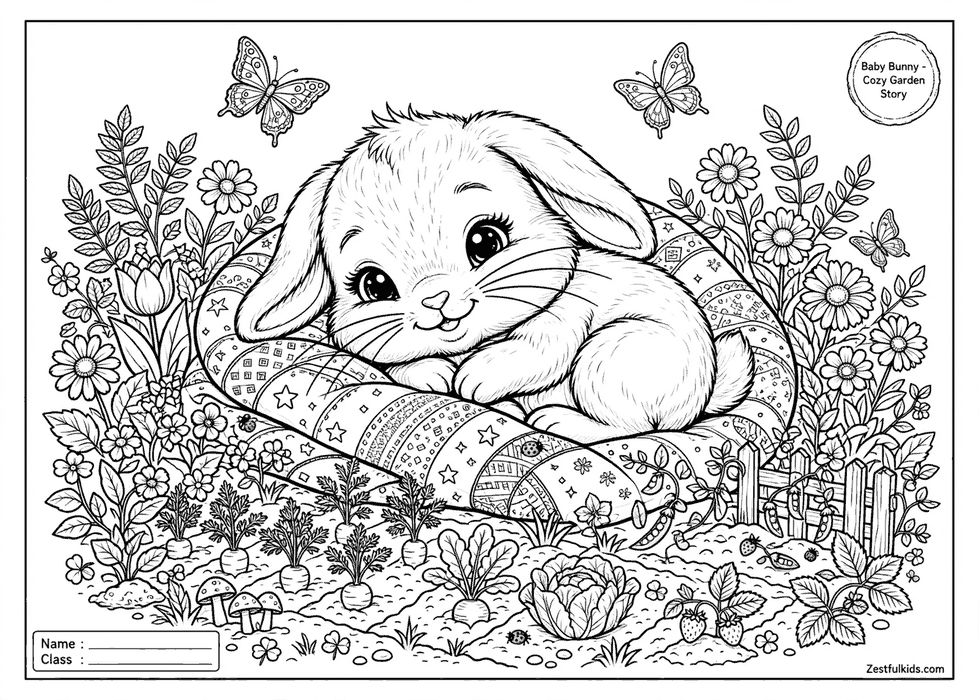
Make Coloring Time Fit Different Ages
Baby bunny illustrations can be approached in different ways depending on a child’s experience with coloring. A child who is just beginning may enjoy filling the rabbit’s body with one favorite color and adding a few marks to the background. There is no need to insist that every small area stays perfectly inside the lines. Keeping the activity relaxed allows the child to focus on enjoying the picture.
Children who are more comfortable with coloring can experiment with two or three shades for the fur, create a patterned blanket beneath the rabbit, or design a detailed garden around it. They might add spots, stripes, tiny hearts, or other decorative elements if the illustration leaves room for extra creativity. These additions can make each finished picture different, even when children start with similar outlines.
Families can also display completed artwork on a refrigerator, bedroom wall, or classroom board when appropriate. Another option is to place the finished page in a folder alongside other animal pictures, creating a collection that children can revisit. Rather than judging the artwork by how closely it resembles a real rabbit, encourage children to explain their color choices and share the little story behind their creation.
Baby Bunny Coloring Pages offer a simple way to bring animals, imagination, and everyday creativity together. With thoughtful color choices, optional garden details, and a little storytelling, children can turn an ordinary coloring session into a personal artistic adventure. Each finished bunny can have its own appearance and character, making the activity enjoyable for both independent play and shared creative time.
