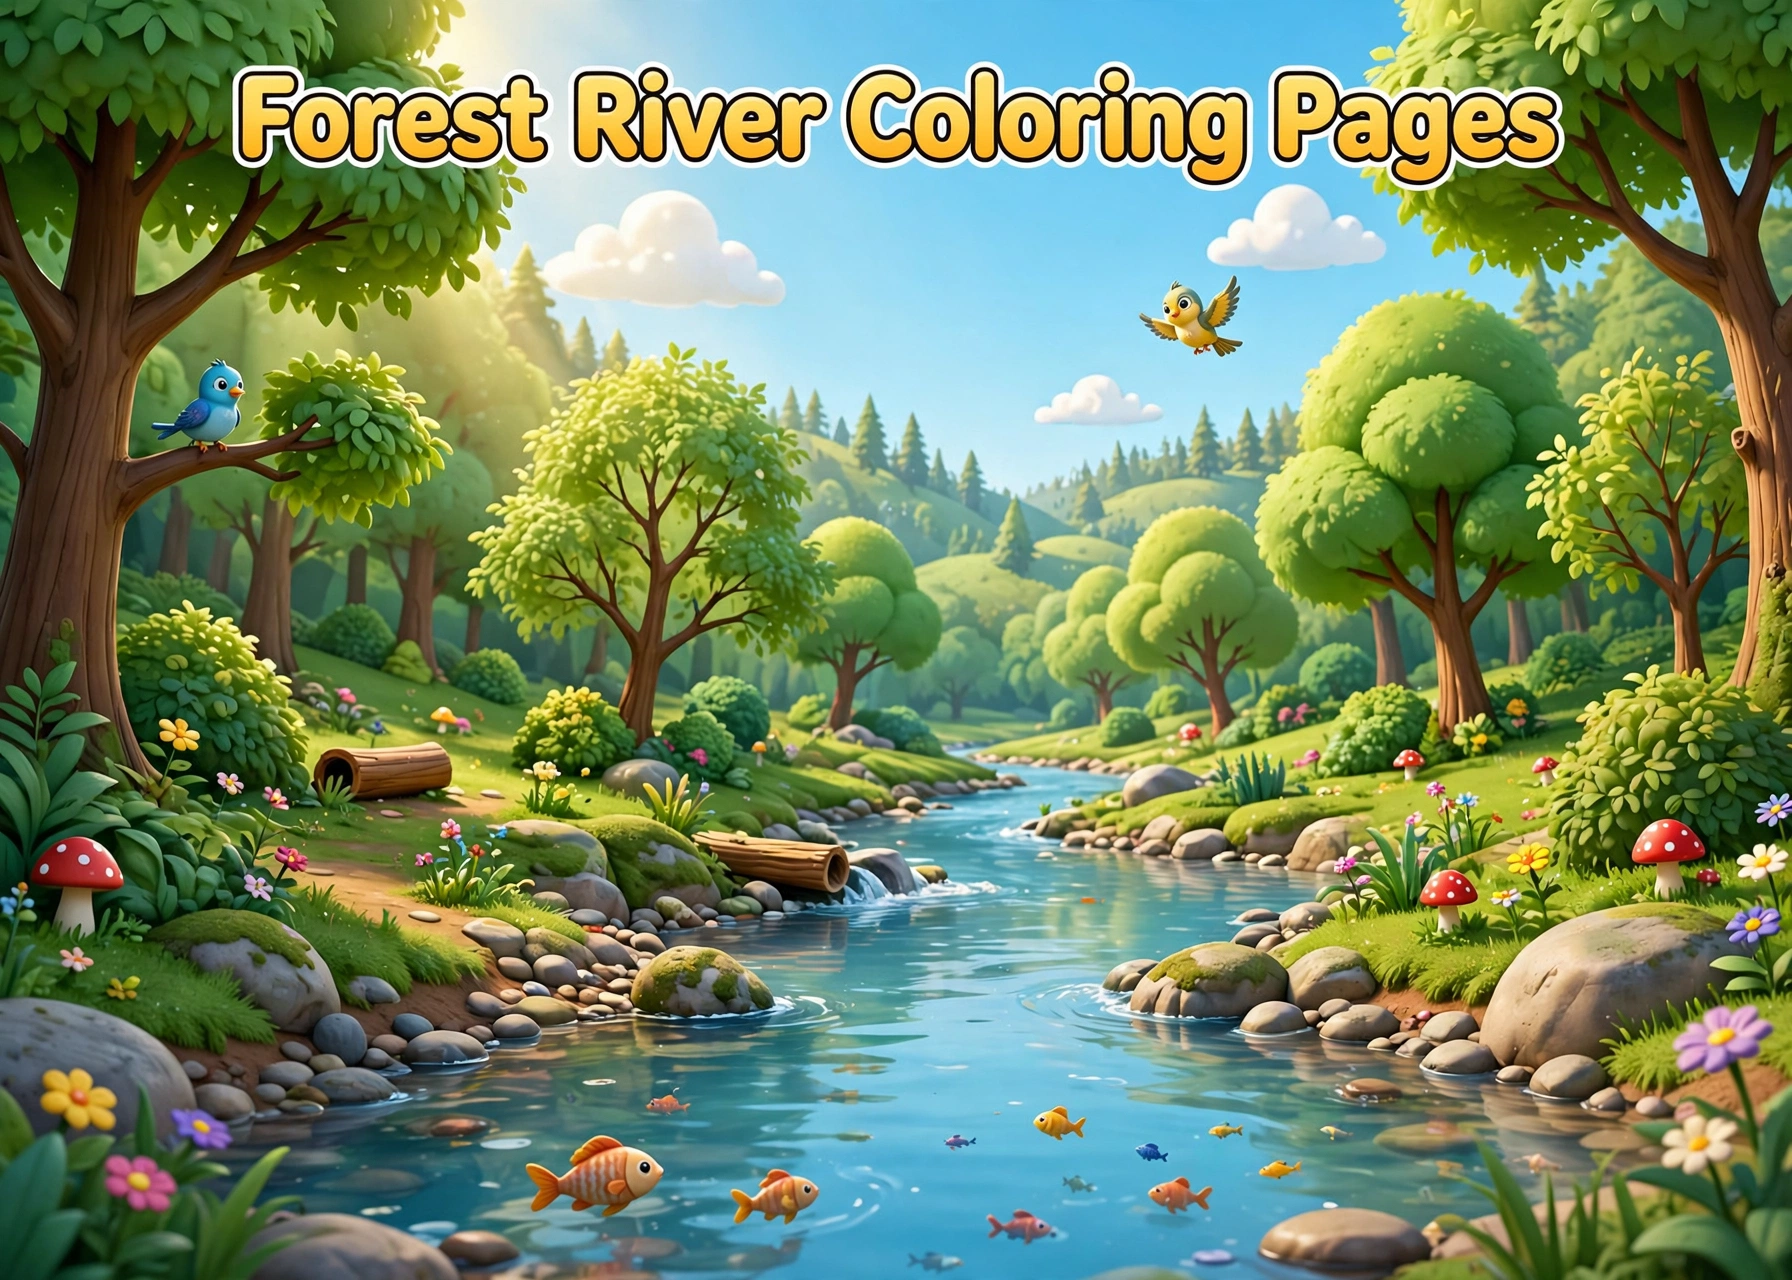
Forest River Coloring Pages invite children to explore the beauty of flowing water, woodland scenery, and peaceful natural surroundings. These nature-inspired activities encourage creative color choices while introducing children to the interesting details of rivers and forest environments.
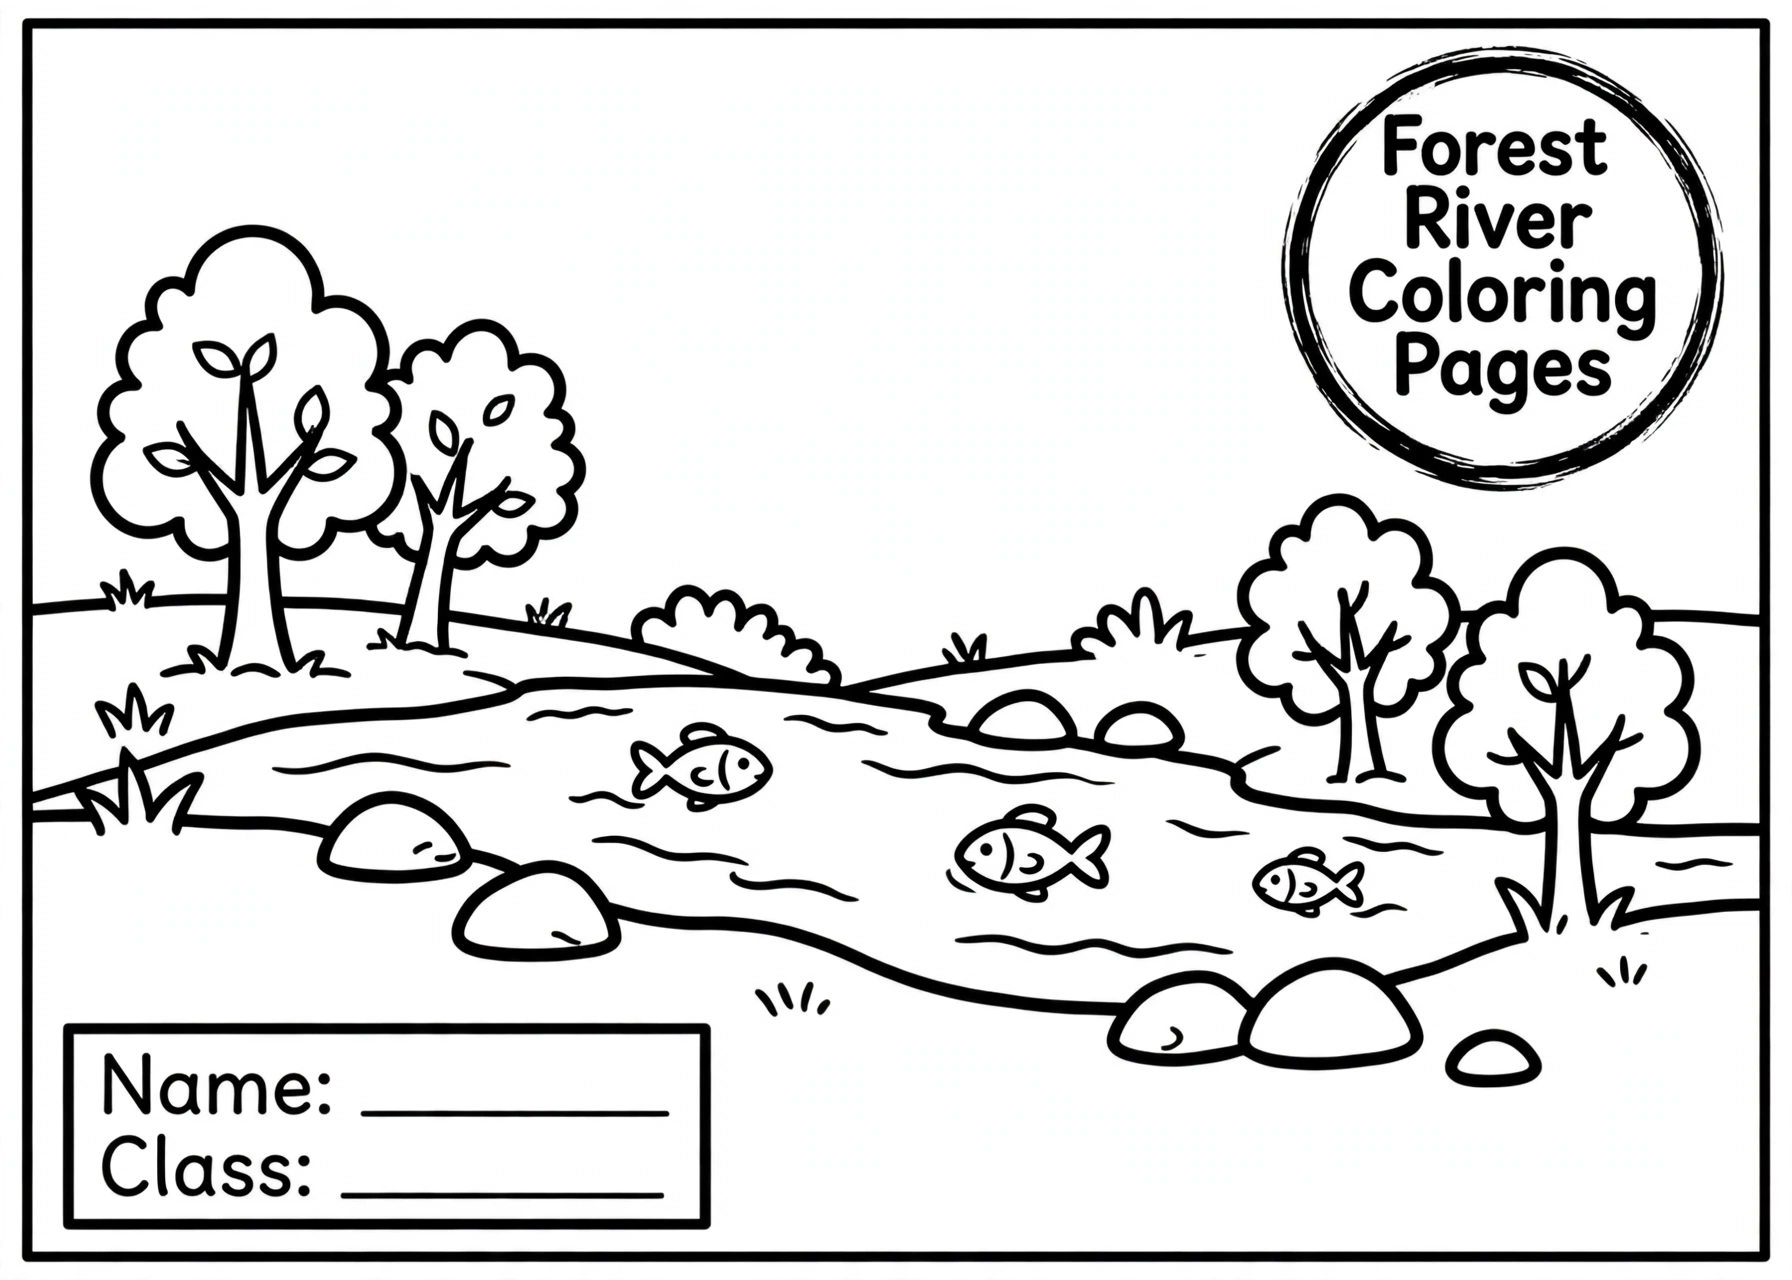
Where the Forest Meets the Flowing River
A river winding through a forest creates a landscape filled with different textures, shapes, and natural features. Tall trees grow along the riverbanks, rocks appear beside the water, and branches form leafy canopies above the landscape. Sunlight may filter through the trees, creating bright areas that contrast with the cooler shades of the river. This combination makes a forest river an interesting subject for children who enjoy coloring outdoor scenery.
Unlike a picture focused on a single object, a forest river scene often contains several connected elements. The water provides a natural path through the illustration, while trees, plants, stones, and surrounding land help establish the setting. Children can follow the river from one part of the picture to another, deciding how each section should look.
The scenery can also inspire different interpretations. A narrow stream running between rocks might suggest a quiet woodland walk, while a wider river surrounded by tall trees could represent a peaceful wilderness landscape. Children can use their imagination to decide whether the setting feels like a cool morning, a sunny afternoon, or a mysterious forest after rainfall.
Understanding the Colors of a Forest River
Coloring a river landscape is an opportunity to work with several shades of blue, green, brown, and gray. However, natural water does not always appear bright blue. Depending on the surroundings, lighting, and depth, a river may look turquoise, dark green, grayish blue, or even brown.
Children can use light blue for areas where the water appears shallow or catches the sunlight. Darker blue and green shades can represent deeper sections, while pale blue or white can suggest reflections and small areas of moving water. If the illustration includes ripples, using short, gentle strokes can help create the appearance of flowing water.
Trees provide another interesting color challenge. Their trunks can be colored in shades of brown, gray, or reddish brown, while their leaves offer opportunities to combine several greens. Children can use light green for sunlit foliage and darker green for areas beneath thick branches. Different shades make the forest look more varied without requiring complicated techniques.
Rocks along the riverbank can be colored gray, beige, or brown. Adding a slightly darker shade near their edges can create a simple sense of depth. Small plants and patches of grass can complete the scene with fresh green details.
Look Beyond the Water: Small Details That Shape the Landscape
The river may be the central feature, but the surrounding environment gives the picture much of its character. Children can take time to notice how the different natural elements fit together.
For example, tree roots may grow close to the riverbank, while smaller plants appear between rocks. Fallen branches can rest near the water, and leaves may float along the current. If the illustration contains these details, they can be colored individually to make the landscape feel more complete.
Some forest river scenes may also inspire children to add optional wildlife or natural features. They might imagine a bird sitting on a branch, a butterfly flying above the plants, or a small fish swimming beneath the water. These additions are creative possibilities rather than details that need to appear in every illustration.
Parents and teachers can use these observations to introduce simple nature-related conversations. They might explain that rivers provide water for many living things and that trees, plants, and animals depend on healthy natural environments. Children can also discuss why keeping rubbish away from rivers is important for wildlife and water quality.
Experiment with Different Forest Atmospheres
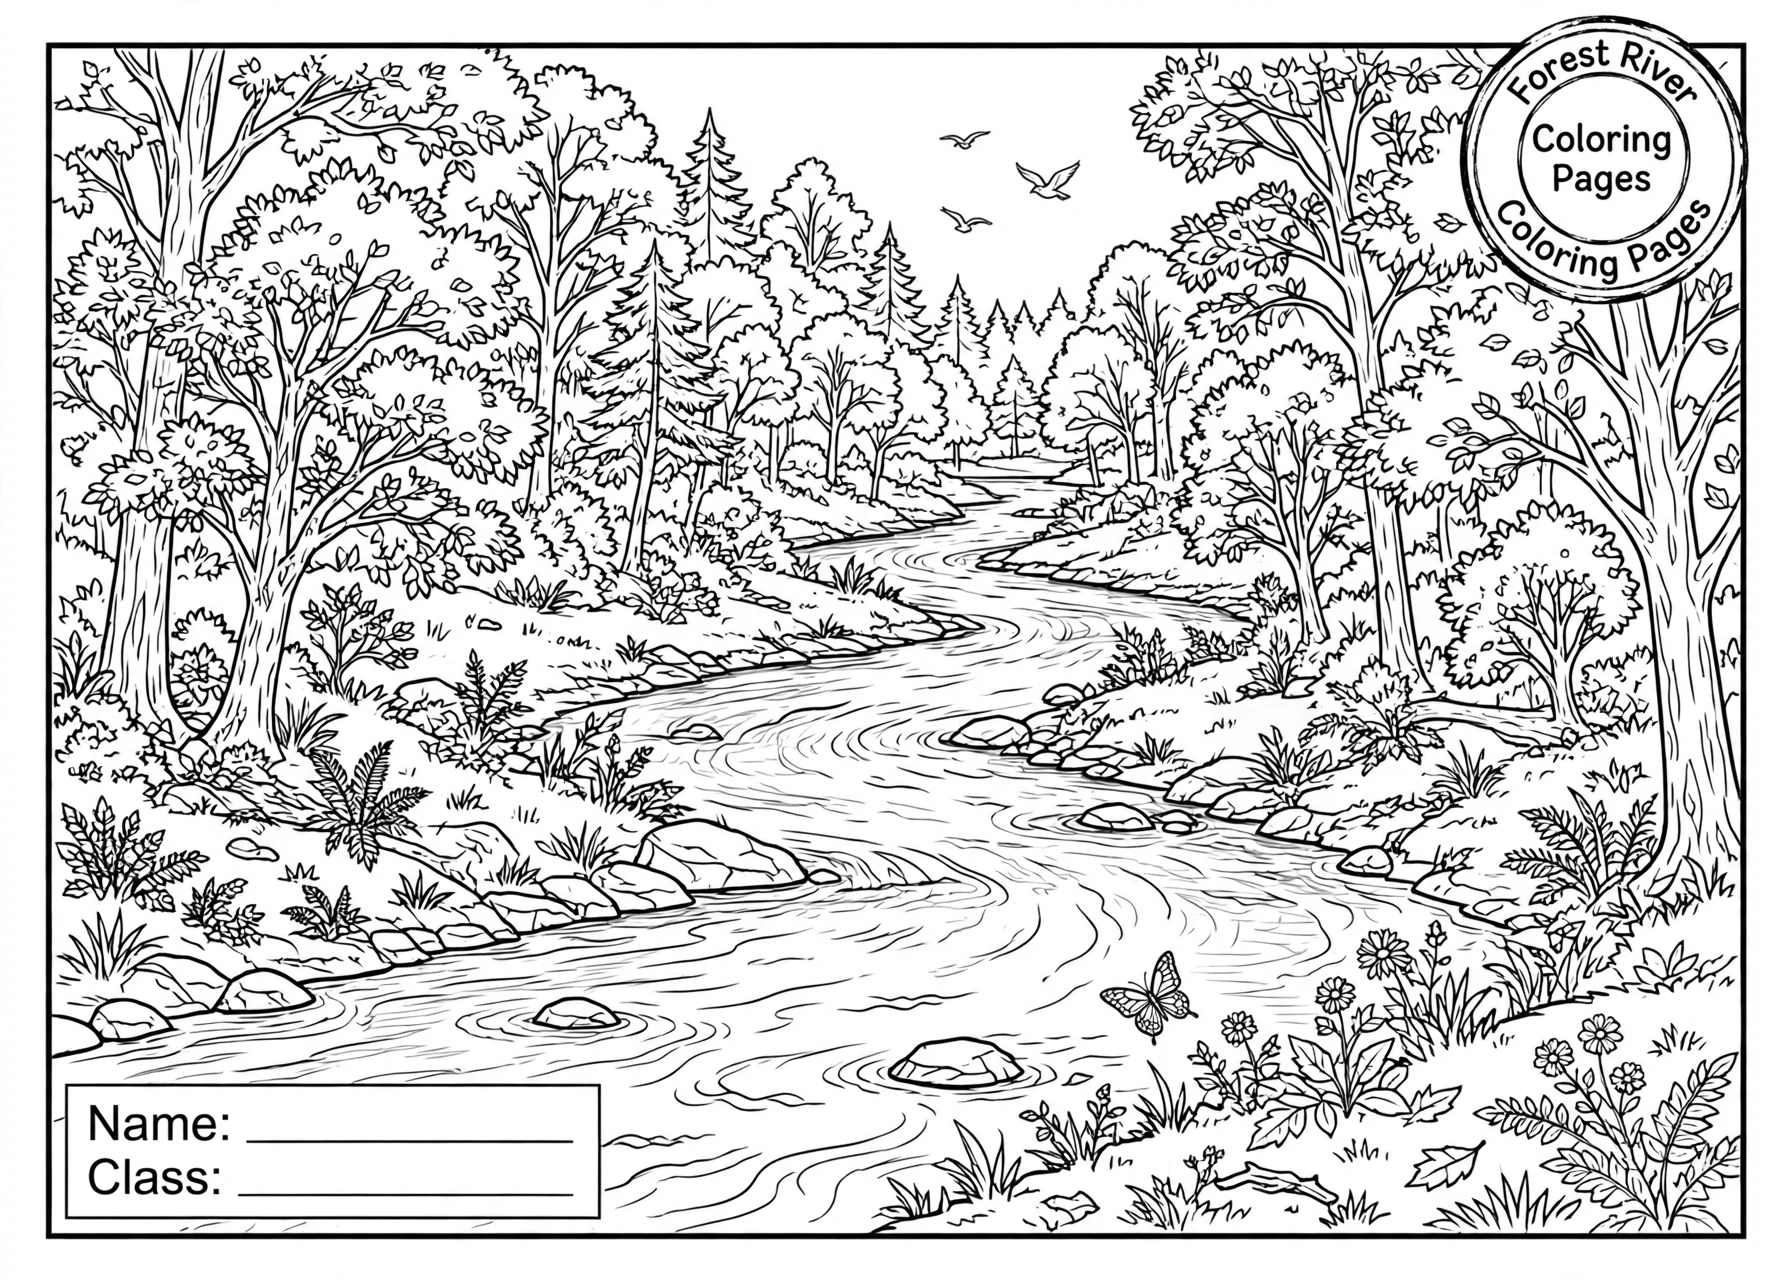
A forest river does not always need to look the same. Children can create different moods simply by changing the colors used throughout the illustration.
A bright summer landscape might feature fresh green leaves, clear blue water, and warm sunlight. A woodland scene during autumn could include orange, yellow, red, and brown foliage. For a cool winter atmosphere, children might choose muted greens, gray tree trunks, pale blue water, and white areas to suggest frost or snow if the setting allows.
Another interesting approach is to create a fantasy forest. Children can use unusual colors, such as purple trees, turquoise water, or colorful flowers, to turn an ordinary river landscape into an imaginary place. They might even give the forest a name and invent a story about the creatures living there.
These different color approaches allow children to work with the same nature theme in their own way. Some may prefer realistic scenery, while others enjoy creating a completely imaginative environment.
Make Nature Coloring More Interesting with Simple Challenges
A forest river illustration can become the starting point for several small creative challenges. Instead of coloring the entire picture without a plan, children can focus on one aspect of the landscape at a time.
Try these ideas during a coloring session:
- River color challenge: Use at least three shades to represent different areas of the water.
- Forest palette: Choose several greens and combine them with different shades of brown.
- Rock collection: Give each rock a slightly different combination of gray, beige, or brown.
- Seasonal transformation: Imagine how the same forest would look during summer, autumn, or winter.
- Nature storytelling: Invent a short story about a creature visiting the river or living in the forest.
These activities can be adapted to the child’s interests and the amount of detail in the illustration. A simpler design may work well with a basic color challenge, while a more detailed landscape can provide additional opportunities for experimentation.
For children who enjoy woodland animals, a Christmas owl scene offers another way to explore birds and natural surroundings through a seasonal theme. It can also introduce a different atmosphere from the peaceful river landscape.
Choosing Coloring Tools for Water and Woodland Textures
Different coloring materials can help children approach the landscape in different ways. Crayons are convenient for filling larger sections, such as tree canopies, riverbanks, and open water. Colored pencils are useful for smaller details, including individual leaves, thin branches, rocks, and ripples. Washable markers can create strong colors, especially when children want the green foliage and blue water to stand out.
Layering shades is a simple technique that works particularly well for natural scenery. Children can begin with a light base color and add darker shades around selected areas. For example, a tree trunk can start with light brown before receiving darker brown marks to suggest bark texture. The water can combine light and dark blue strokes to represent changing depths.
It is also perfectly fine to use a simple coloring approach. Children do not need to create realistic textures or complicated shading to enjoy the picture. Choosing colors thoughtfully and filling the different sections at a comfortable pace is enough to make the activity rewarding.
For children who enjoy fantasy environments as much as realistic landscapes, these kawaii dragons offer a playful change of subject. Their imaginative appearance can inspire colorful characters and stories that contrast with the natural atmosphere of a forest river.
Bring Forest River Coloring into Everyday Activities
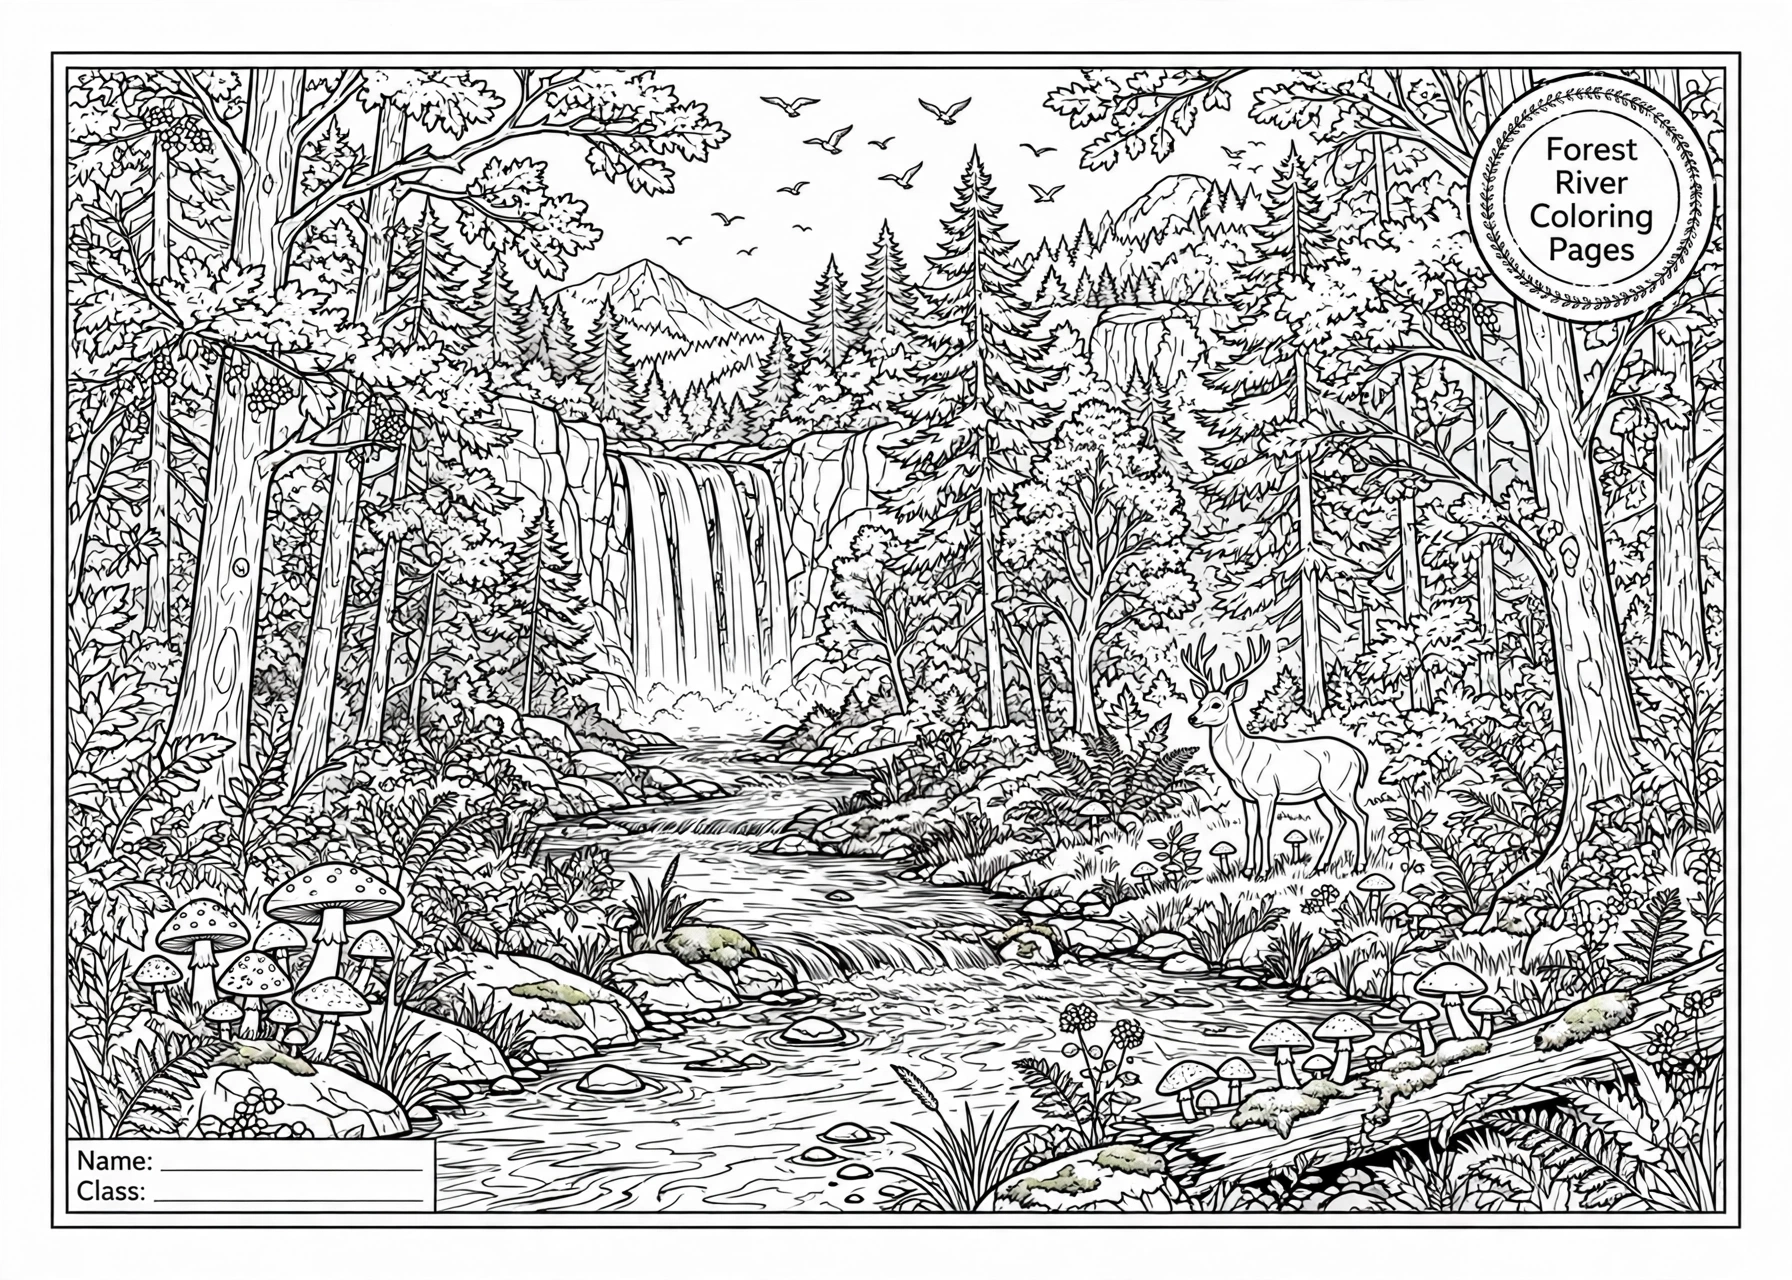
Forest River Coloring Pages can be used at home, in classrooms, or during nature-themed creative sessions. Parents can offer the activity on a quiet afternoon, while teachers may include it when introducing forests, freshwater environments, or environmental awareness. Children can also compare their finished pictures and describe the colors and details they chose.
Before printing a selected illustration, check the print preview to make sure the artwork fits properly on the page. Prepare crayons, colored pencils, or washable markers depending on the child’s preferences. A comfortable workspace with enough room for the coloring materials makes it easier to work on larger landscape areas.
After coloring, invite children to describe their imagined forest. They might explain where the river begins, what plants grow along its banks, or which animals could visit the water. This simple conversation connects the artwork with an appreciation of nature while allowing children to develop their own stories about the landscape.
A forest river offers plenty of visual variety, from flowing water and textured rocks to leafy trees and winding riverbanks. With thoughtful color choices and a little imagination, children can transform a simple landscape illustration into their own interpretation of a peaceful natural world.
